–
One morning we were surprised to wake up to a brisk 59 degree bedroom. Given that the thermostat was set on 73, obviously something was wrong. Our motorhome has dual ducted central thermostat controlled air conditioners. Although people are quick to call a repair man, issues with these units are typically easy to diagnose. Before we get into it, one thing you should know is that these units are factory filled and sealed with no way to check or fill the “freon” (also properly known as refrigerant) level.
The board in place with wiring attached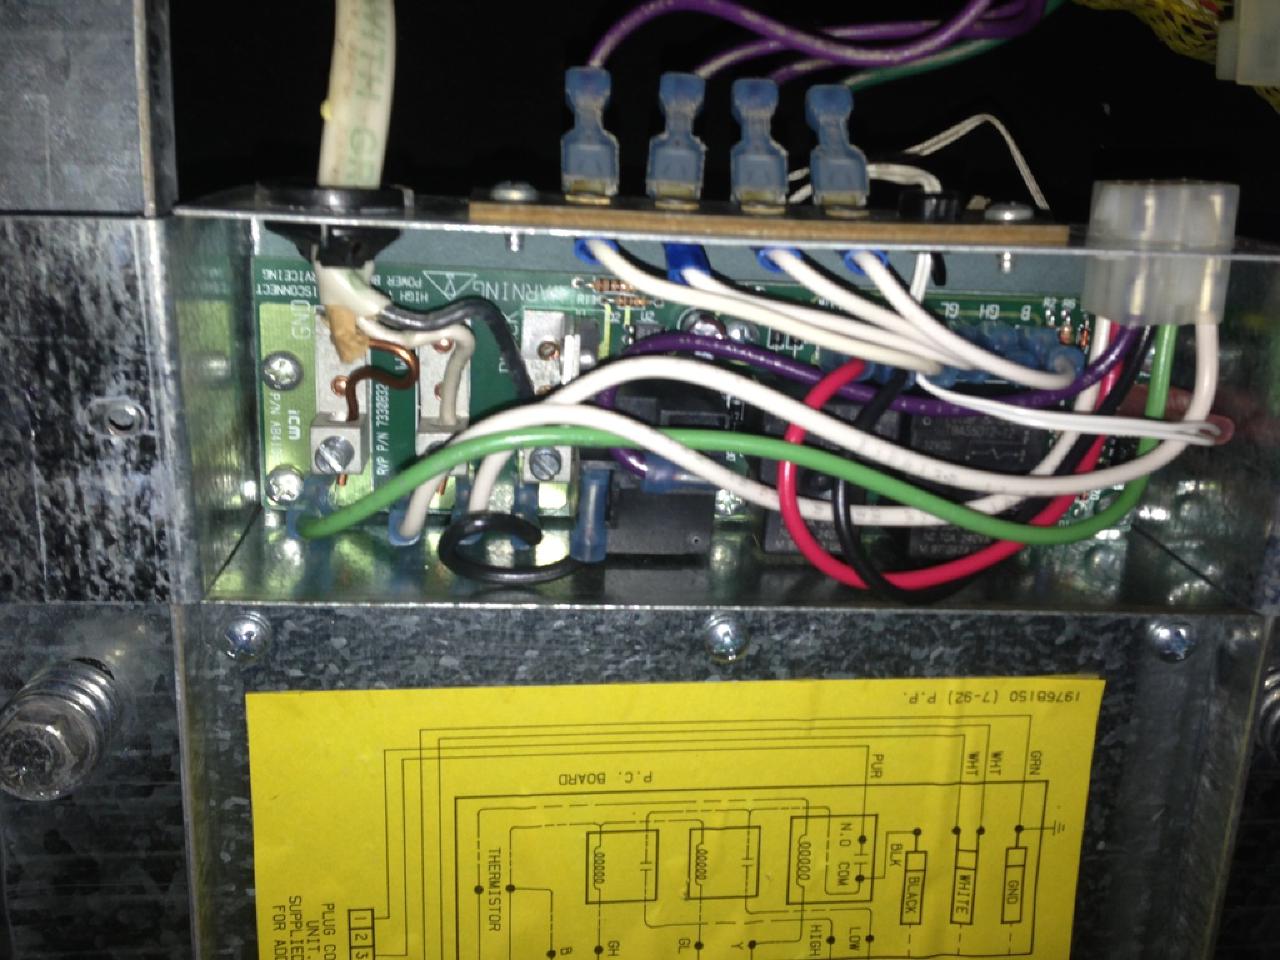
The way our particular air conditioner works is that the thermostat on the wall receives +12V from the coach battery system and sends it out via various wires. I know this because I changed our coleman mach thermostat to household digital thermostats some time ago in order to better regulate the temperature. The rest of the operation can be derived through basic troubleshooting. When the thermostat on the wall engages a click will be heard at the wall, the relay in the thermostat. A few milliseconds later a relay in the roof unit can be heard clicking. If AC power is being delivered to the unit it will turn on.
New Relays - Ready to go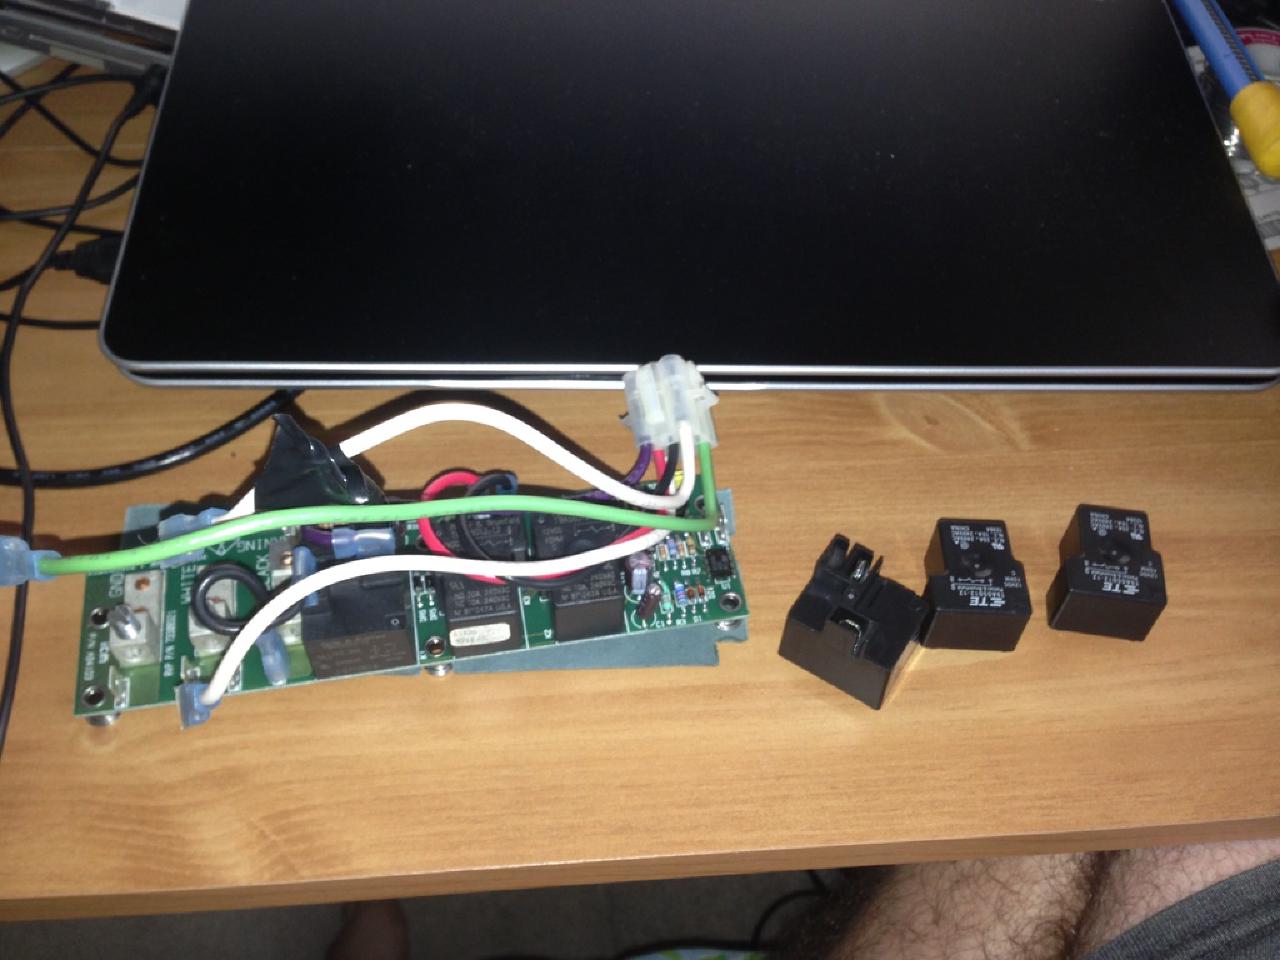
Replacing it is a matter of removing the board, keeping track of everything connected, desoldering the offending relay and then soldering in the replacement. This is easier said than done! In our case, the legs of the relay fit into the holes very snugly and as a result when desoldering and pulling the entire via came out. The via is a metal tube that connects the top to the bottom of the circuit board.
Board with one of the non-offending relays removed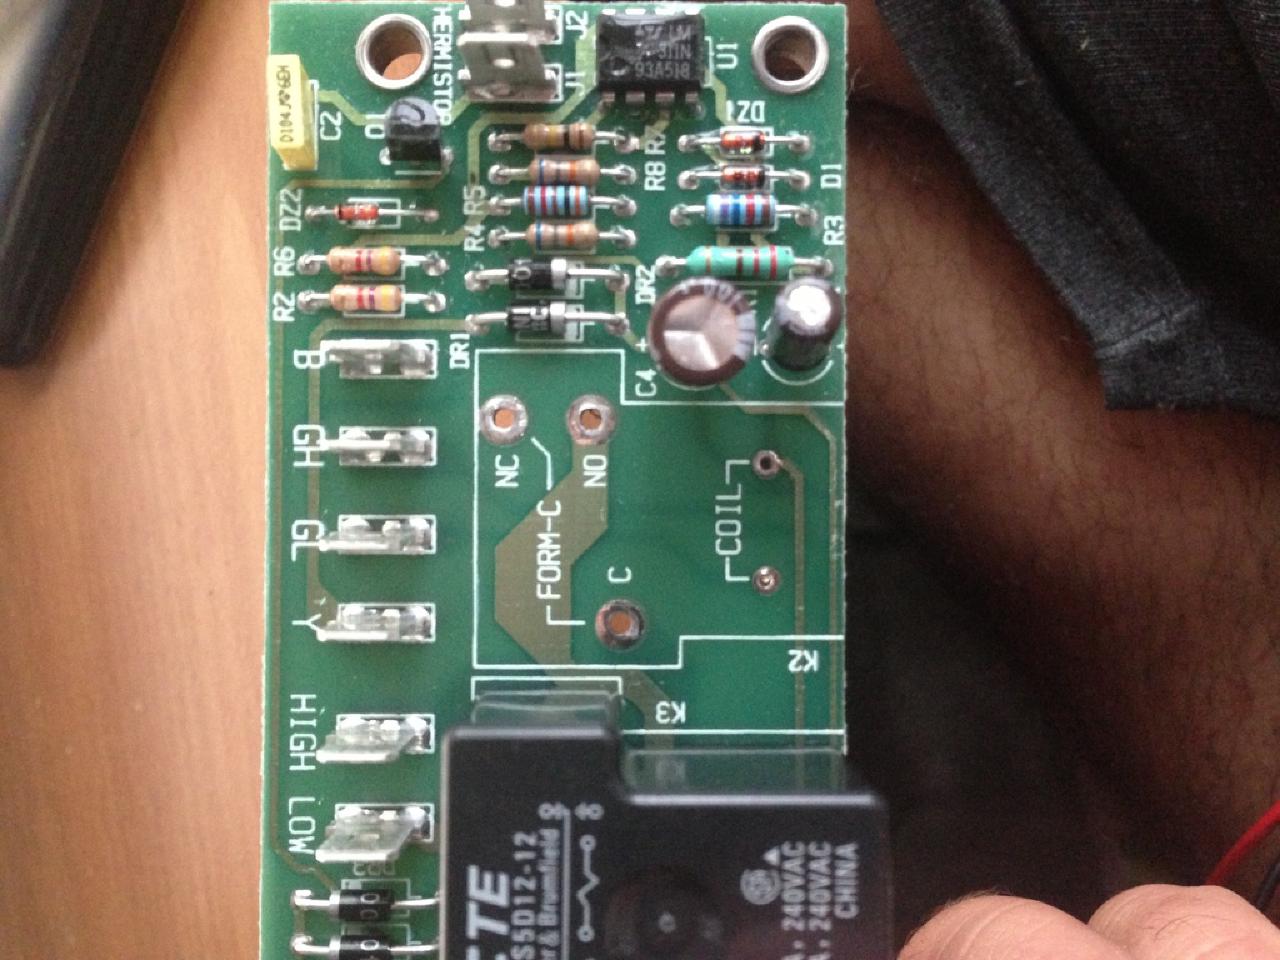
Last modified: 21 October, 2014
Created: 16 August, 2013